
Builds
Proven meta builds and off-meta curiosities for the current patch, with chassis, parts, Tarot, and Relic recommendations.
Introduction
Build variety is one of Pass the Fear's biggest strengths, called out repeatedly in launch-week Steam reviews. With 5 keyword families cross 4 elemental effects cross N weapon chassis, the theory-craft space is enormous. The wiki indexes the proven meta builds ([Growth]+[Shatter] combo, single-shot [Final Shot] rifles, [Disruption] interrupt chains), then walks through the off-meta curiosities (Tarot-only, full-support Nun, money-scaling Whiz) that can still finish runs. Each build page lists the recommended chassis, the keyword chain, the Tarot priorities, and the Relic Fusion target. Off-meta builds typically lose Act 2 clear time by 10-20% but make up for it with showcase value in co-op runs where DPS ranking rewards creative Burst-window builds.
Build Archetype Comparison
| Build | Archetype | Clear Time | Tier |
|---|---|---|---|
| [Growth] + [Shatter] | DPS | 1.5 hours | S |
| [Final Shot] Single-Shot | Burst | 2 hours | S |
| Fireworks Master (Skorpian) | Projectile | 1.5 hours | A |
| Mysterious Nun Support | Support | 2.5 hours | B |
| Money Whiz Economy | Economy | 2 hours | B |
Featured Builds
[Growth] + [Shatter] Combo
[Growth] + [Shatter] Combo is the canonical DPS build that stacks kill-scaling plus armor-break to reliably clear Act 2 with any chassis. As the top-ranked DPS archetype in the build tier list, this combo works because [Growth] triggers on every kill while [Shatter] triggers on broken armor — together they compound into runaway damage that melts Act 2 encounters. The build's recommended chassis is Skorpian or Leaf Cutter, and the Tarot priority is The Tower (Legendary damage). Clear time averages 1.5 hours for experienced players. The build is the recommended first-clear choice for new players learning the keyword math.
[Final Shot] Single-Shot
[Final Shot] Single-Shot is the burst build that pours everything into one bullet to melt boss health bars in a single shot, ideal for endgame burst windows. As the top-ranked burst archetype, this build works because [Final Shot] multiplies the killing bullet's damage by 5x-10x depending on part stacks. The build's recommended chassis is Leaf Cutter only, and the Tarot priority is The Fool (Ultimate reset). Clear time averages 2 hours for experienced players. The build is the recommended Act 3 boss choice for solo runs because it doesn't require sustained DPS.
Fireworks Master (Skorpian)
Fireworks Master (Skorpian) is the projectile-stacking build that stacks 8+ Projectile Fragments on Skorpian to fire a screen-wide volley that clears rooms in seconds. As the top-ranked projectile archetype, this build works because every additional Projectile Fragment compounds with [Shatter] triggers for exponential screen-clear speed. The build's recommended chassis is Skorpian only, and the Tarot priority is The Magician (+1 part slot). Clear time averages 1.5 hours for experienced players. The build is the recommended mid-game choice for solo runs.
Mysterious Nun Support
Mysterious Nun Support is the support build that keeps the squad alive through clutch saves and debuff auras. As a B-tier support archetype, this build works because the Mysterious Nun's Resurrect Ultimate combined with The Fool Tarot card creates a stacked burst window of Ultimate + revive. The build's recommended chassis is any support-oriented part setup, and the Tarot priority is Death (one-time revive) plus The Star (heal auras +30%). Clear time averages 2.5 hours for experienced players. The build is the recommended co-op support choice for squad compositions.
Money Whiz Economy
Money Whiz Economy is the economy-scaling build that converts every gold pickup into damage and shop discounts. As a B-tier economy archetype, this build works because the Money Whiz's Gold Rush Ultimate combined with Gold Pickup Relic creates a runaway scaling engine for late-game shops and ability purchases. The build's recommended chassis is any chassis that benefits from shop access, and the Tarot priority is The Magician (+1 part slot) plus The Tower (Legendary damage). Clear time averages 2 hours for experienced players. The build is the recommended solo economy choice.
Core Mechanics
Every build is defined by its keyword chain: the order in which you trigger [Shatter] / [Embarkation] / [Growth] / [Final Shot] / [Disruption] determines your damage curve. The classic combo is [Growth]+[Shatter] (stacking kill-scaling plus armor-break), which clears Act 2 reliably. Single-shot [Final Shot] rifles are a different archetype: pour everything into one bullet, melt the boss health bar. Elemental builds (fire → ice → lightning → poison) trigger reactions on top of keywords. The wiki indexes each major archetype with the recommended chassis, parts, Tarot priority, and Relic Fusion target. Talent selection is the build's anchor — a 4-point Talent investment in the wrong tree can invalidate an otherwise correct keyword chain, so build planning starts at the Talent screen.
Advantages
Pass the Fear's build variety is the single biggest strength called out by launch-week Steam reviews. With 5 keyword families cross 4 elemental effects cross N weapon chassis, the theory-craft space is huge. S-tier community builds like [Growth]+[Shatter] combo or single-shot [Final Shot] rifles reliably clear Act 3, while off-meta curiosities (Tarot-only builds, full-support Nun) can still finish runs given enough Talent resets. The wiki indexes the proven meta builds so new players can skip the failed-experiment phase. The Elemental build axis is also a build-independent multiplier — any keyword chain can be transformed into an elemental build by slotting elemental coils into the chassis, which doubles the effective build count without requiring new parts.
Challenges
The build variety is high, but the meta is rapidly consolidating — by launch-week Day 3, the [Growth]+[Shatter] combo and the single-shot [Final Shot] rifle build dominated community theorycraft, leaving off-meta builds as curiosities rather than competitive options. Some keyword chains require specific Tarot draws to fully activate, so RNG heavily gates build expression. New players picking an off-meta first build are likely to fail Act 3 and need to restart. The Elemental build axis is also gated behind part RNG — without the right elemental coil, an elemental build is identical to a physical build. Talent progression is also slow, so unlocking a build-defining Talent often takes 4-6 runs of dedicated meta-currency farming.
Frequently Asked Questions
What is the best build for first-time players?+
Are off-meta builds viable?+
What is the best build for Chaos Battle Scar mode?+
Quick Tips
Stick to the [Growth] + [Shatter] combo for your first 3-4 runs. The combo is the most reliable DPS build for new players because it scales infinitely with kill count, forgives early-game positioning mistakes, and clears Act 2 reliably. Off-meta curiosities (Tarot-only builds, full-support Nun, money-scaling Whiz) can still finish runs given enough Talent resets, but the meta is rapidly consolidating toward [Growth] + [Shatter] by launch-week Day 3. The wiki indexes the proven meta builds so new players can skip the failed-experiment phase. The [Final Shot] Single-Shot build is the recommended second-build choice.
Don't over-invest in single-build optimization. Pass the Fear rewards build variety more than most roguelites — there are 5 keyword families cross 4 elemental effects cross N weapon chassis, so the theory-craft space is enormous. Spend 1-2 runs per build archetype to find your preferred playstyle, then double down on the one that feels most fun. The wiki indexes the recommended build progression for the fastest mastery route. Trying to optimize a single build in your first 10 runs is a slower path to mastery than exploring multiple archetypes.
Elemental builds are a separate archetype that doesn't compete with keyword builds. Elemental coils (fire, ice, lightning, poison) layer on top of any keyword chain, so you can transform any keyword build into an elemental build by slotting elemental coils into the chassis. This effectively doubles the build count without requiring new parts. The wiki indexes the recommended elemental build pairings per chassis. Elemental reaction windows (fire + ice + lightning + poison) create compounded damage spikes that exceed any single element's output.
Featured
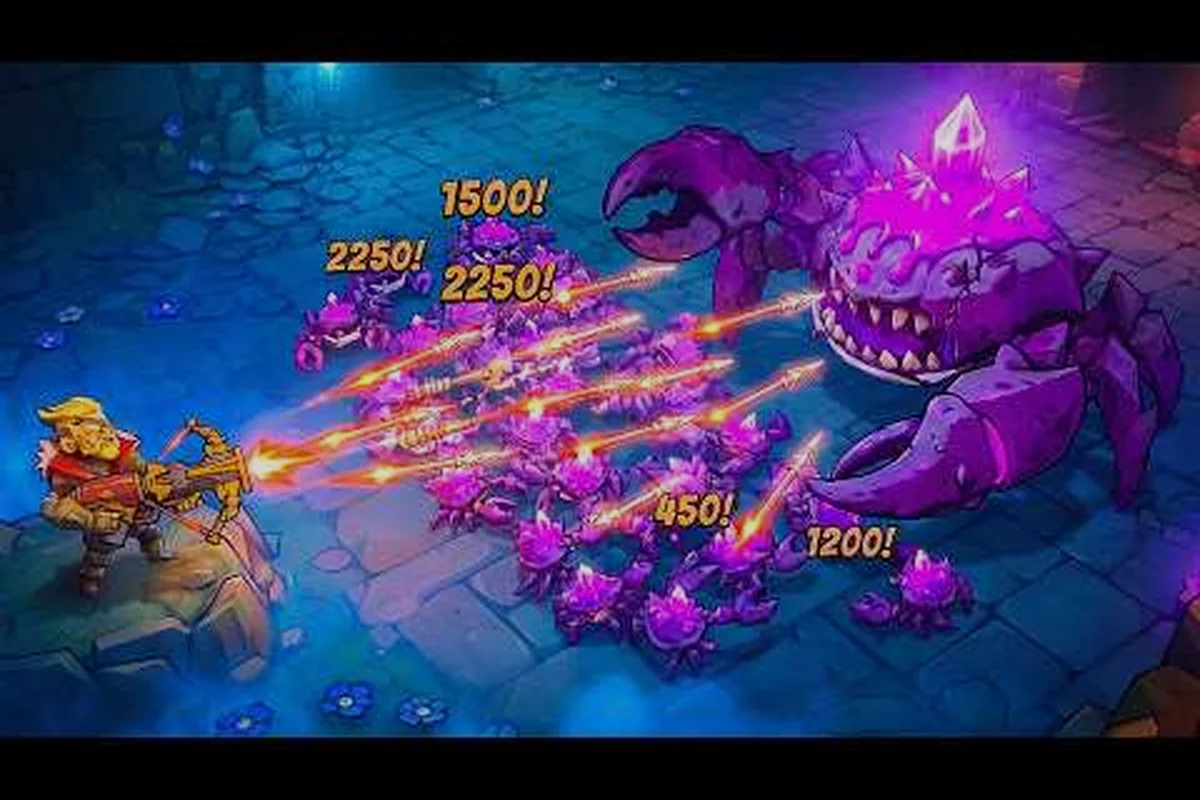
Pass the Fear DPS Build Guide: Damage King Loadout
Pass the Fear DPS build guide covering weapon, Demon Hunter, talents, and Tarot picks for maximum damage per second.
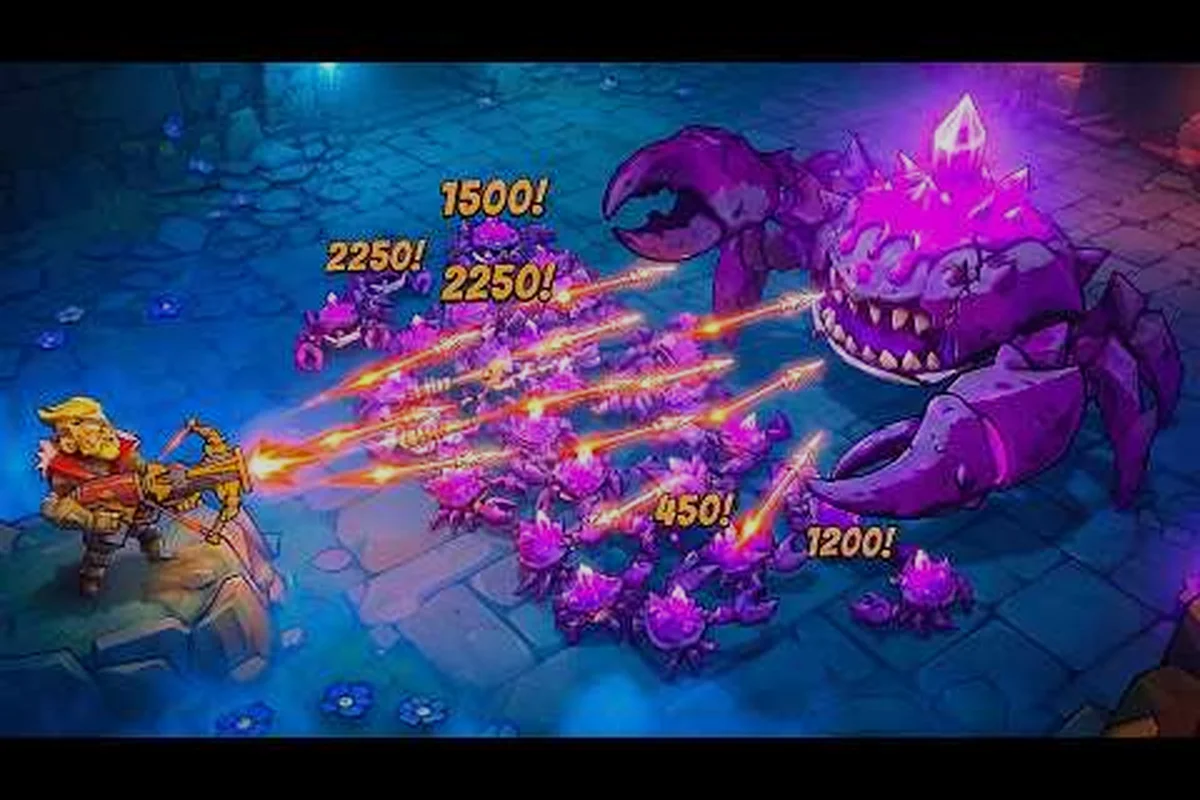
Pass the Fear Economy Build Guide: Money Whiz Setup
Pass the Fear economy build guide covering Money Whiz passives, gold bonus stacking, and reroll cadence optimisation.
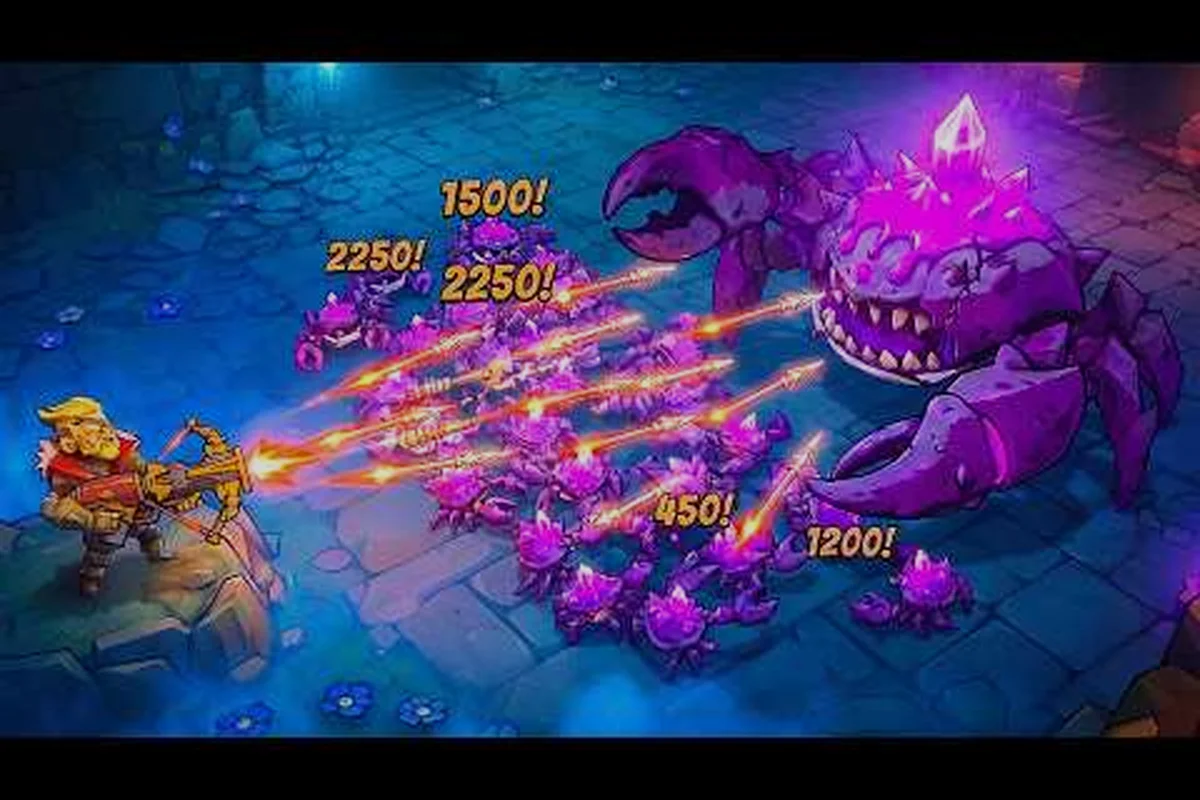
Pass the Fear Glass Cannon Build Guide: Burst Damage
Pass the Fear glass cannon build guide covering Explosive Cutie, Storm Hammer, Multi-Charge, and burst rotation timing.
All Articles
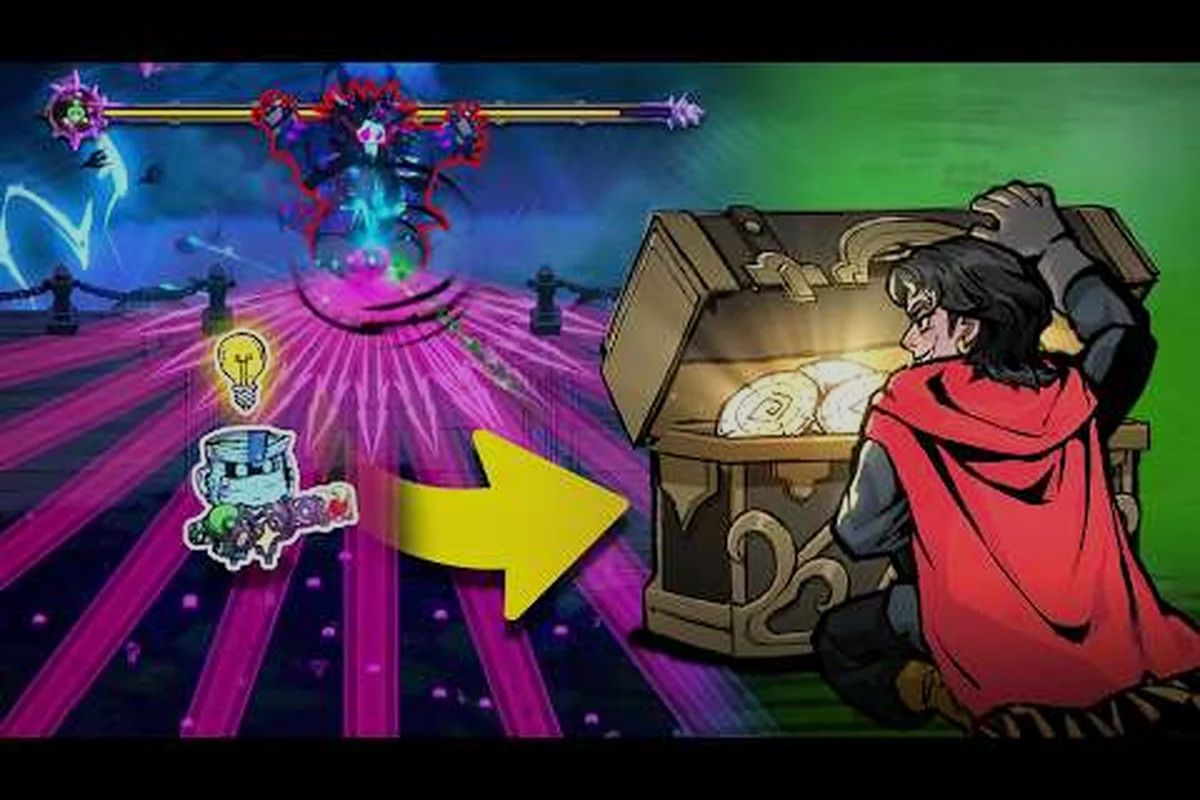
Pass the Fear Meta Build Overview: 5 Archetypes Guide
Pass the Fear meta build overview covering the 5 launch-week build archetypes with tier rankings and matchup analysis.
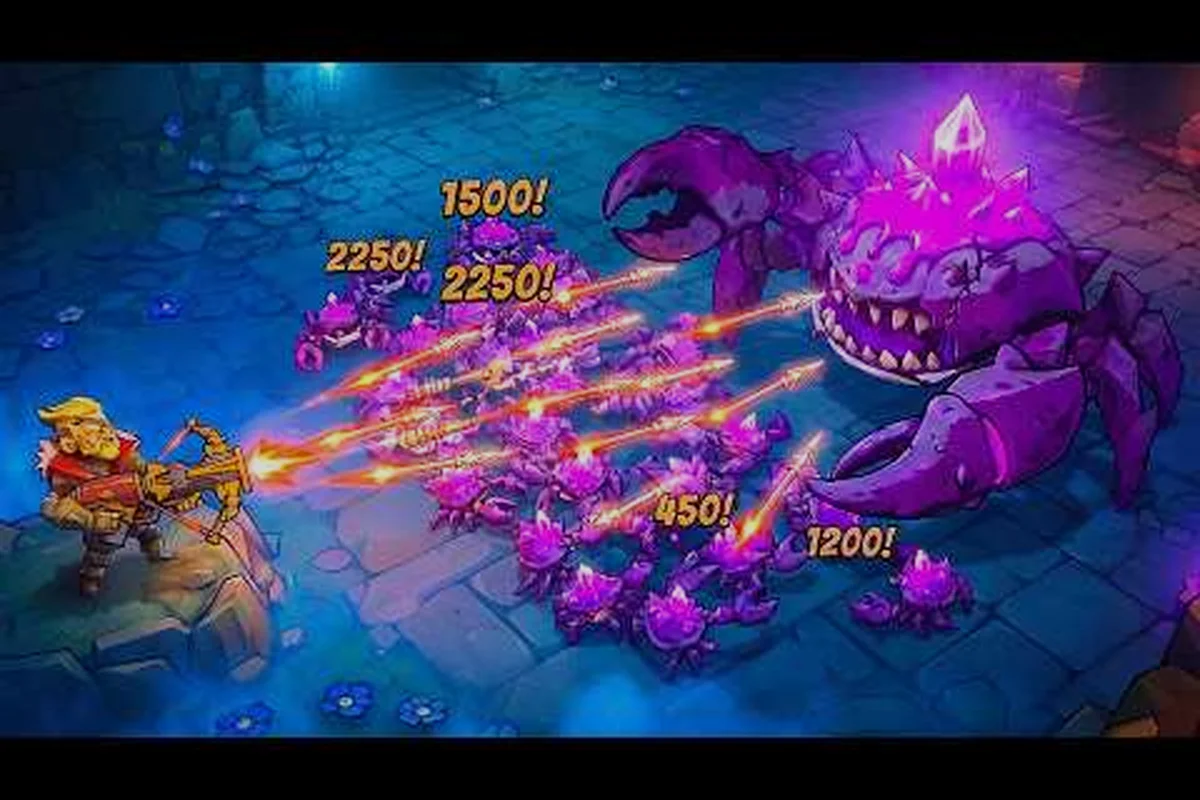
Pass the Fear Support Build Guide: Mysterious Nun Loadout
Pass the Fear support build guide covering Mysterious Nun passives, team shielding, and 4-player co-op support role.
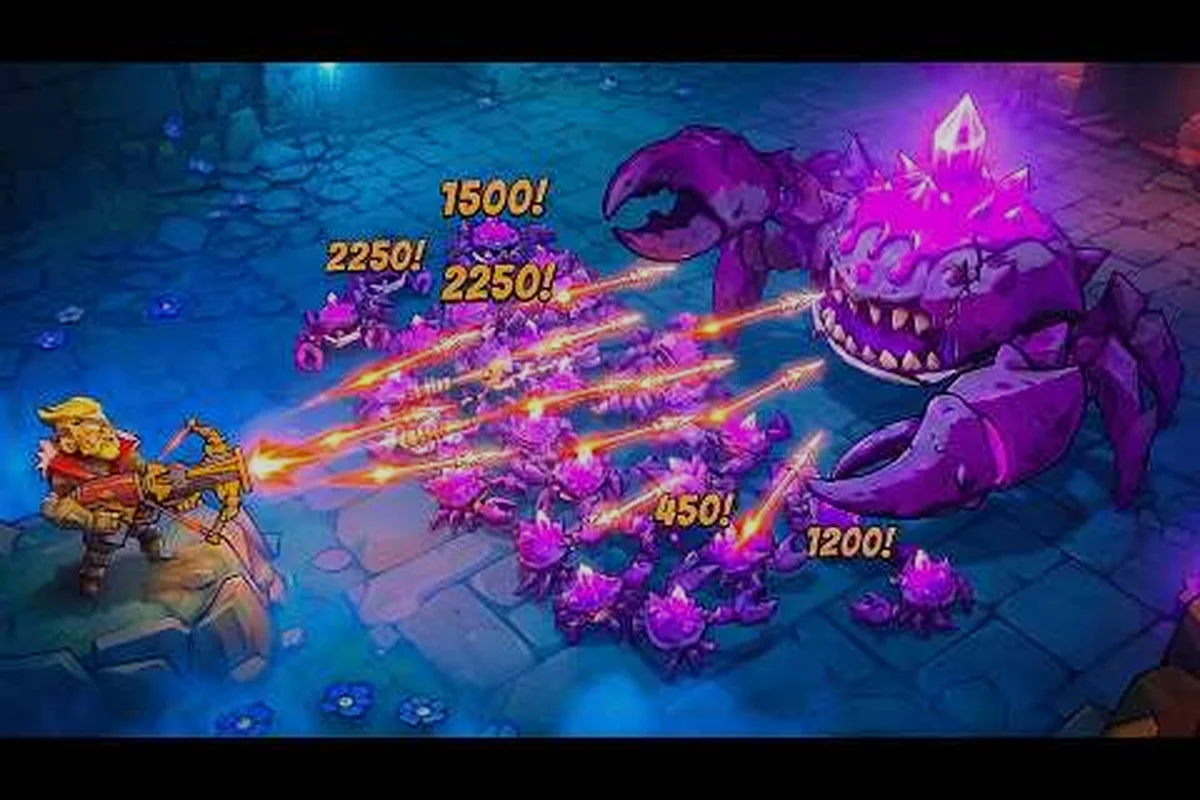
Pass the Fear Tank Build Guide: Iron Bucket Knight Setup
Pass the Fear tank build guide covering Iron Bucket Knight passives, weapon pairing, and survivability breakpoints.