
Relics
Run-independent Relics, Relic Fusion at the camp, and best-in-slot picks for every build archetype.
Introduction
Relics are persistent meta-progression items that compound across runs, separate from your in-run Weapon Parts and Tarot Cards. The big power lever is Relic Fusion: at the camp between Acts, you can fuse two complementary Relics into a single compounded effect that often doubles or triples the underlying bonus. Elemental Relics (fire, ice, lightning, poison) stack on top of Weapon Part elemental effects, multiplying burst windows in elemental builds. The wiki indexes Relic sources, fusion outcomes, and the best-in-slot picks per build archetype. The dual-layer meta-progression (Character Talents + Team Talents) means that Relic unlocks and Talent unlocks can be staggered for faster progression.
Relic Fusion Outcomes
| Fusion Pair | Combined Effect | Tier |
|---|---|---|
| Fire Coil + Fire Coil | Double fire burst on hit | S |
| Attack Speed + Attack Speed | +50% fire rate compound | S |
| Crit + Crit | Doubles crit chance | A |
| Gold + Gold | Triple gold pickups | A |
| Shield + Shield | Stacking shield regen | B |
Relic Fusion Builds
Fire Coil Relic
Fire Coil Relic is the elemental fire-damage-on-hit Relic that stacks with Weapon Part fire coils for compounded burst windows. As one of the strongest S-tier Relics, Fire Coil pairs with another Fire Coil for a double-burst compound that melts Act 3 boss health bars during elemental reaction windows. The Relic's strength lies in its synergy with elemental chassis builds — Skorpian and Leaf Cutter both benefit from the multiplied fire damage during [Shatter] triggers. Best paired with the Fire Coil + Fire Coil fusion outcome for the maximum elemental damage spike.
Attack Speed Relic
Attack Speed Relic is the universally applicable fire-rate Relic that benefits every chassis archetype. As the single most universally useful S-tier Relic for solo play, Attack Speed compounds with another Attack Speed Relic for a +50% fire rate compound that doubles damage output on high-rate-of-fire builds. The Relic's strength is its lack of build-restriction — every chassis benefits from faster firing, so the Relic fits into any build without compromise. Best paired with the Attack Speed + Attack Speed fusion outcome for the maximum DPS multiplier.
Gold Pickup Relic
Gold Pickup Relic is the economy-scaling Relic that converts gold pickups into damage scaling, the cornerstone Relic for Money Whiz economy builds. As the strongest A-tier Relic for economy runs, Gold Pickup pairs with another Gold Pickup for a triple-gold compound that creates runaway scaling for late-game shops and ability purchases. The Relic's strength is its synergy with shop-discount Talents — combined, the two effects compound into a shop-economy engine that outperforms raw DPS Relics in long runs. Best paired with the Gold + Gold fusion outcome for maximum economy spike.
Crit Relic
Crit Relic is the +25% critical hit chance Relic that doubles crit chance for any build. As one of the strongest A-tier Relics for crit-only builds, Crit Relic pairs with another Crit Relic for a doubled crit chance compound that makes every shot a guaranteed crit. The Relic's strength is its crit-scaling synergy with [Final Shot] and [Shatter] keyword triggers, where every crit amplifies the underlying damage. Best paired with the One-Eyed Codger and Leaf Cutter for the maximum crit-damage spike. Crit-only builds are niche but uniquely strong against Act 3 bosses.
Shield Regen Relic
Shield Regen Relic is the regenerating shield Relic that restores shield HP over time. As a strong B-tier defensive Relic, Shield Regen pairs with another Shield Regen for a stacking compound that provides constant shield recovery throughout the run. The Relic's strength is its defensive layer — the regen effect applies even during boss enrage timers, which provides a safety net for builds that would otherwise one-shot. Best paired with the Iron Bucket Knight for the maximum shield-tank durability. Defensive Relics are niche but uniquely strong in Chaos Battle Scar mode where curses multiply incoming damage.
Core Mechanics
Relics are run-independent meta items that compound across your playtime. You unlock Relics through Talent points and run completions, then equip up to three active Relics per run. Relic Fusion lets you fuse two complementary Relics at the camp between Acts, producing a new Relic that combines the parents' effects at increased potency. Elemental Relics add damage effects that stack with Weapon Part elemental triggers, multiplying burst windows. The wiki indexes fusion outcomes and best-in-slot picks, including which fusion pairs create strong late-game scaling spikes vs. wasted synergies. The Relic slot cap is three, so picking the right three Relics at run start is more impactful than accumulating more options in the meta-progression pool.
Advantages
Relics are the single biggest late-game scaling lever because they compound across runs — a well-rolled Relic persists in your meta-progression pool, and Relic Fusion lets two Relics stack into compounded effects when combined at the camp. Elemental Relics (fire / ice / lightning / poison) are particularly valuable because they trigger on top of Weapon Part elemental effects, stacking elemental damage into a single burst window. The wiki indexes Relic sources, fusion outcomes, and the best-in-slot picks per build archetype. Fusing two attack-speed Relics gives a +50% fire rate compound that benefits every chassis archetype, making it a universal pick for solo play. The compound effect of two complementary Relics often exceeds the sum of the parts, so fusion should be planned around your target build rather than randomly.
Challenges
Relics are gated behind Talent point investment, and the most powerful Relics require multiple Talent resets to access. Relic Fusion has a high opportunity cost — fusing two Relics consumes both, so a bad fusion can lock you out of a build direction. Some elemental Relics conflict with Weapon Part elemental choices, forcing you to commit to one elemental build per run. The Relic slot cap is also low (three) for the build variety the game supports, so picking the wrong three at run start can leave key buffs on the bench. Additionally, some fusion outcomes are not documented at launch, so fusing unknown pairs is a real risk of wasted Relics until the wiki or community surfaces the results.
Frequently Asked Questions
How do Relic Fusion outcomes work?+
What are the best Relic Fusion pairs?+
Can I undo a Relic Fusion?+
Quick Tips
Fuse two Relics at the camp between Acts — the compound effect often doubles or triples the underlying bonus, so fusion is the single biggest late-game scaling lever. Some fusion outcomes are not documented at launch, so fusing unknown pairs is a real risk of wasted Relics. The wiki indexes every confirmed fusion outcome and the recommended pairings per build archetype. The Fire Coil + Fire Coil and Attack Speed + Attack Speed pairings are universally strong for solo play. Fusing two S-tier Relics is the highest-impact, highest-cost fusion path.
The Relic slot cap is three, so picking the right three Relics at run start is more impactful than accumulating more options in the meta-progression pool. Many new players make the mistake of switching Relics mid-run, which loses the slot-stacking benefit. Commit to three Relics at run start and stick with them for the duration. The wiki tracks the recommended Relic loadouts per build archetype. The Attack Speed + Crit + Elemental Relic is the most universally strong loadout.
Elemental Relics (fire, ice, lightning, poison) stack on top of Weapon Part elemental effects, multiplying burst windows in elemental builds. The recommended loadout for elemental builds is two Elemental Relics (one per element) plus the Attack Speed Relic for fire-rate boost. The wiki tracks the recommended elemental loadout per chassis and the best-in-slot picks per build. Fusing two Elemental Relics creates a stacked compound that exceeds any single Relic's output.
Featured
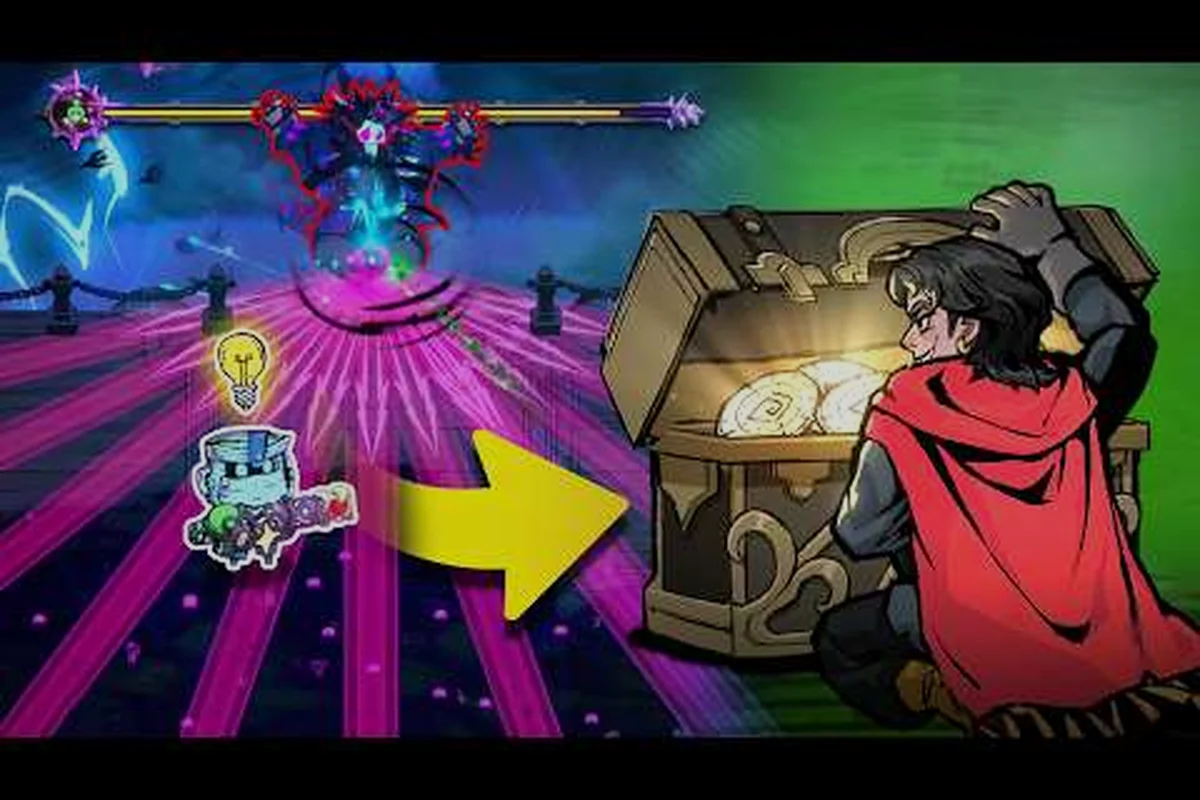
Pass the Fear All Relics List: 16 Relic Pool Guide
Pass the Fear all relics list covering the 16-relic pool, rarity tiers, trigger effects, and fusion pairs by build archetype.
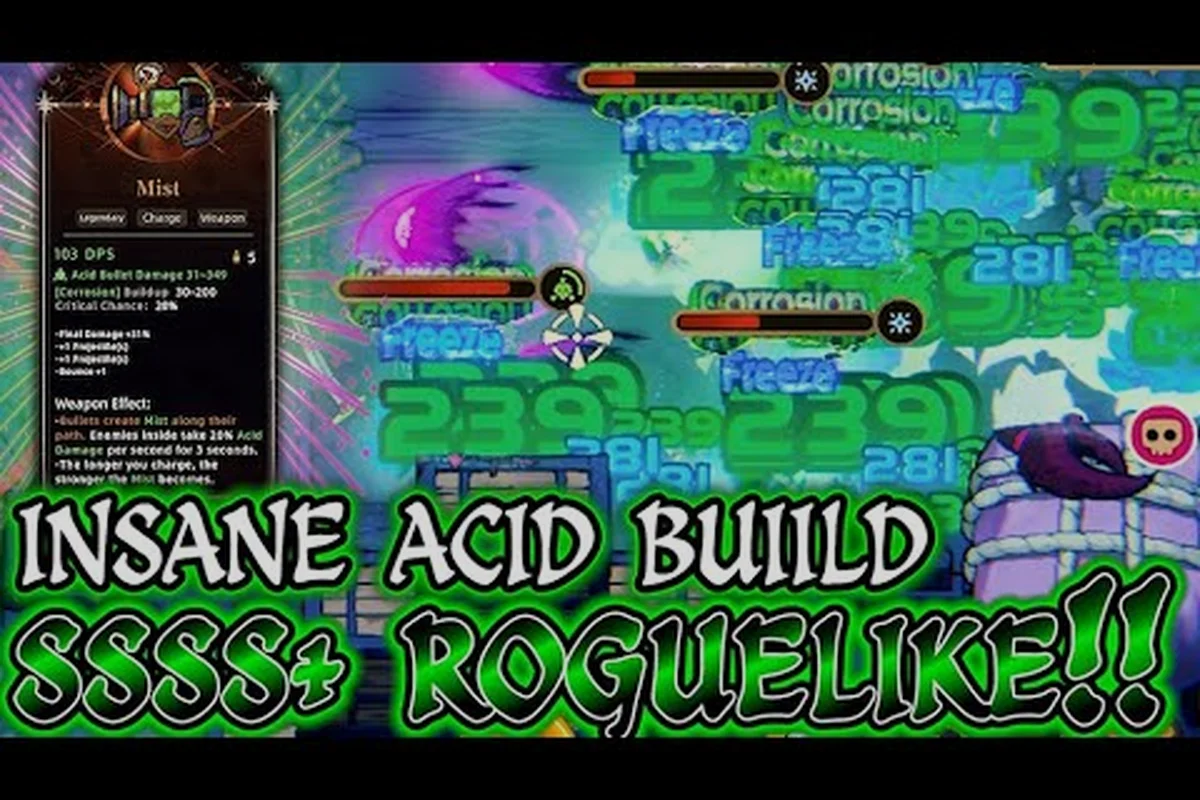
Pass the Fear Best Relic Tier List: S To D Ranking
Pass the Fear best relic tier list ranking all 20 relics from S tier to D tier by launch-week pick priority and build impact.
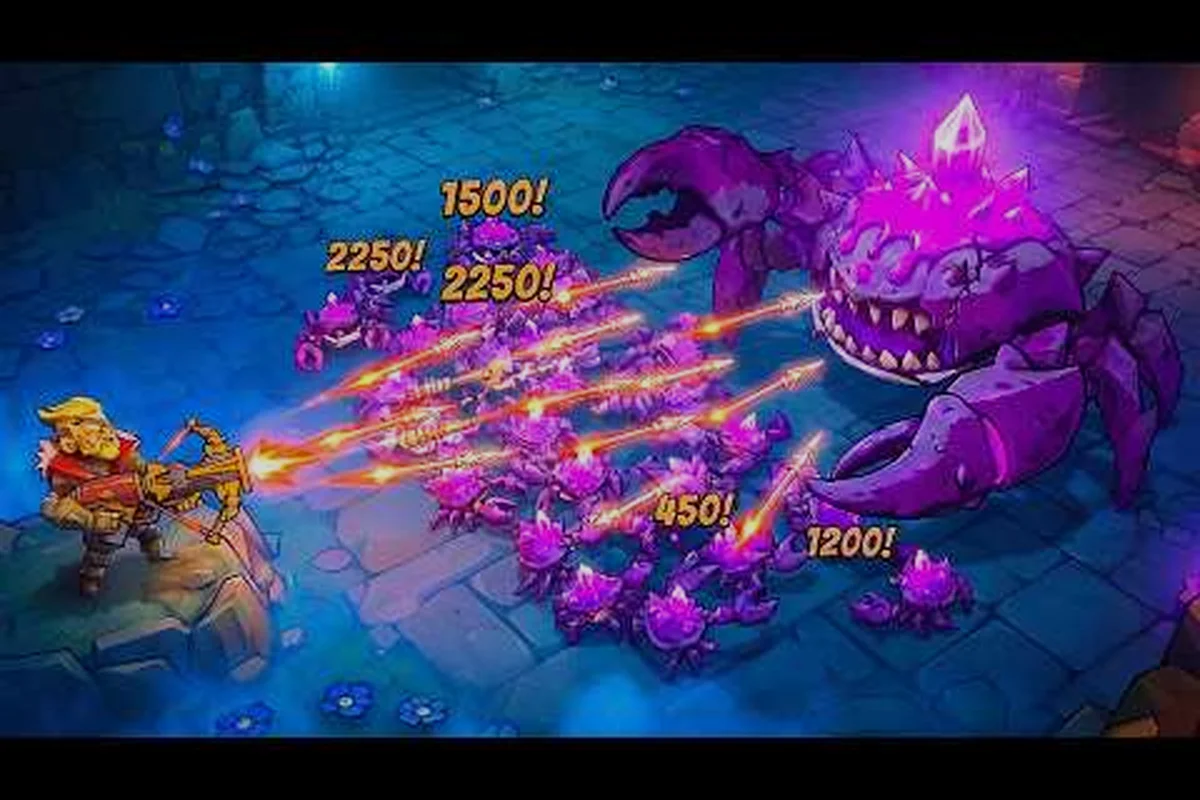
Pass the Fear Relic Build Sets: Synergy Combos Guide
Pass the Fear relic build sets guide covering 4-piece relic synergies, set bonuses, and build archetype matchups.
All Articles
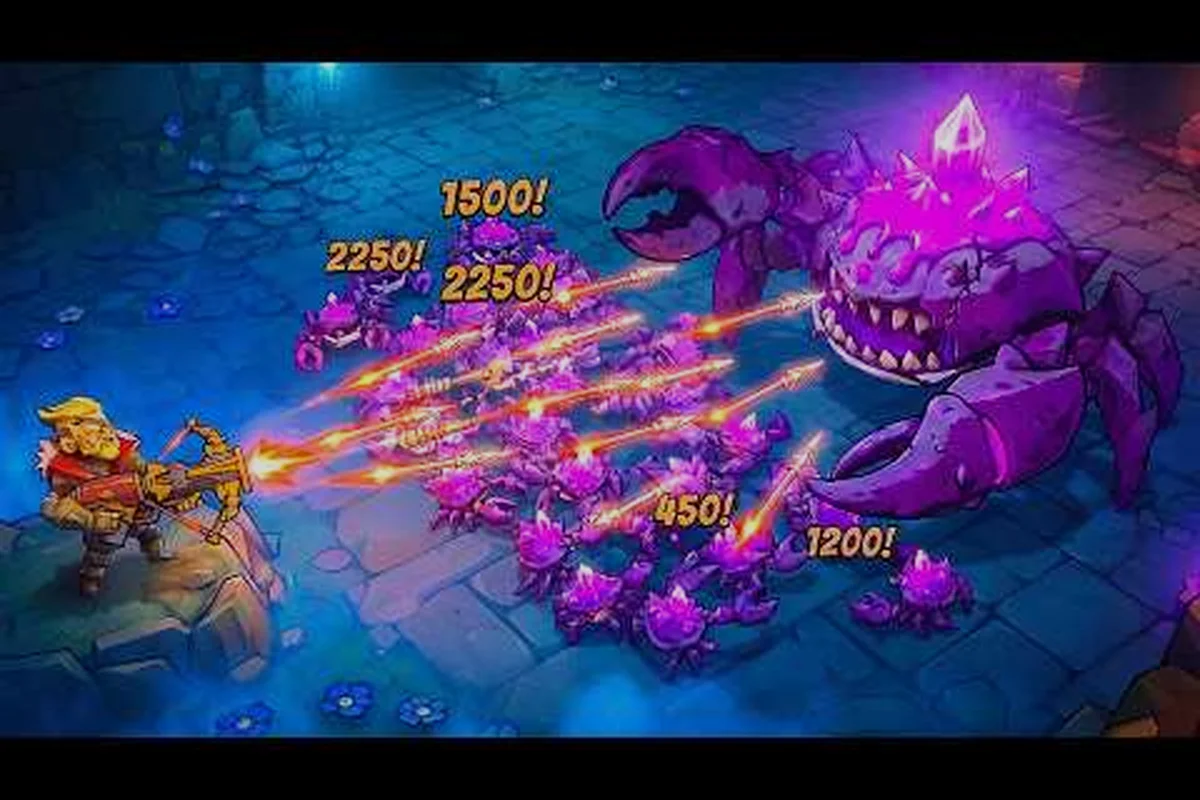
Pass the Fear Relic Fusion Priority: Best Targets Guide
Pass the Fear relic fusion priority guide covering best fusion targets, gold spend order, and fusion outcome priorities.
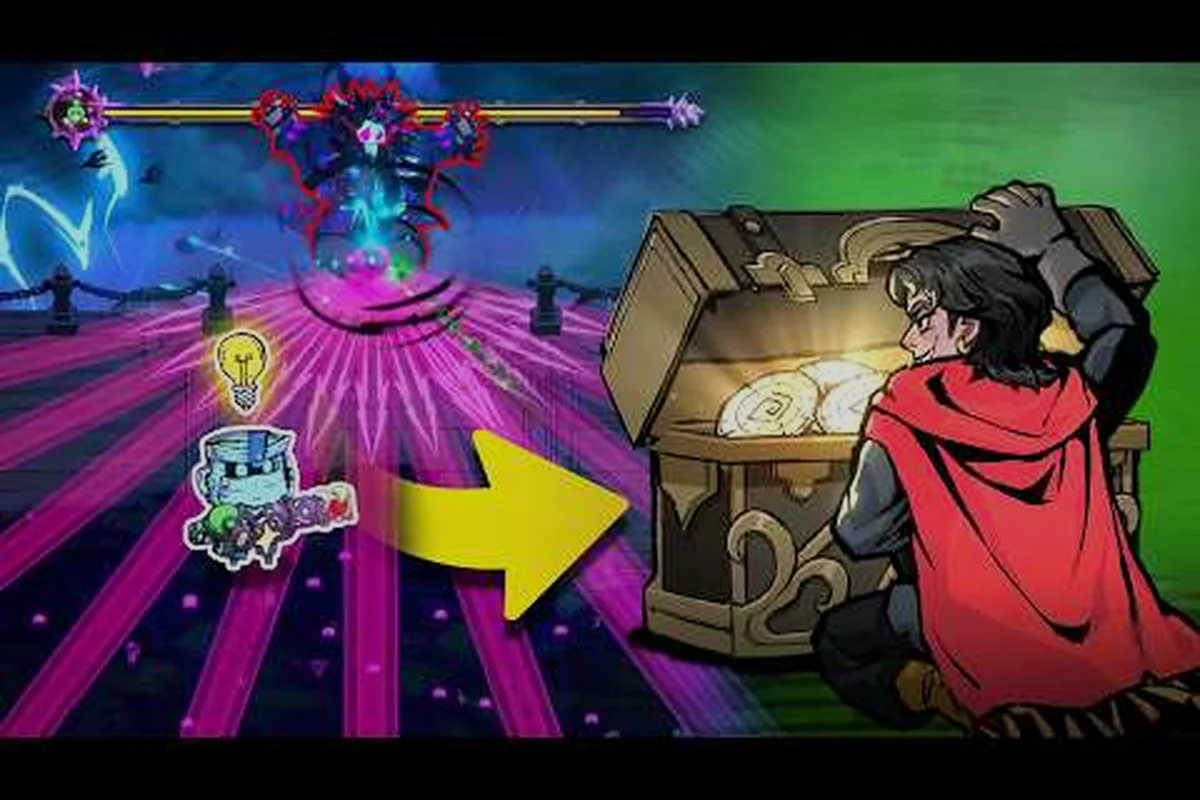
Pass the Fear Relic Fusion System: Combine Recipes
Pass the Fear relic fusion system guide covering fusion recipes, expected outcomes, and best fusion pairs by build.