
初心者
Five steps to clear Act 1 with your first 魔狩り — escape the 嵐の壁 in 12時間 or less.
Introduction
Welcome, 魔狩り, to the island. Pass the Fear is a roguelite bullet-hell shooter built around a 12-hour escape timer: a 魔女の災厄 has raised an ancient 嵐の壁 across the coastline, and your squad of demon hunters — the 鉄桶騎士, the 爆発カワイイ, the 片目コジ, the 成金秀才, and the 謎の修道女 — must break out before the wall closes for good. This beginner guide covers the loop, the timer, your first 武器パーツ, and your first タロット draft so you reach Act 1's first boss without losing the run. Follow the five steps below and you will understand the bullet-hell flow, build your starter loadout, and reach the camp with enough meta-currency to start your permanent タレント unlocks.
初期 Hunter Tier Comparison
| 魔狩り | Role | 難易度 | Tier |
|---|---|---|---|
| 鉄桶騎士 | タンク | Beginner | S |
| 爆発カワイイ | AoE | Beginner | A |
| 片目コジ | バースト | Intermediate | A |
| 成金秀才 | エコノミー | Intermediate | B |
| 謎の修道女 | サポート | Advanced | B |
初期 魔狩り
鉄桶騎士
鉄桶騎士 is the most forgiving starter 魔狩り for new players learning Pass the Fear's bullet-hell patterns. His shield abilities absorb damage spikes during the Storm Wall guardian phases that would otherwise one-shot other starters, and his 鉄壁 アルティメット grants a 5-second team-wide shield that can save the squad during the most punishing boss enrage timers. Recommended as the first pick for players new to the roguelite bullet-hell genre, because his shield mechanics teach positioning and timing without forcing restart-heavy learning curves. His tank role also makes him the most sought-after squad member in 4-player co-op runs where one player must absorb frontline damage while teammates focus on DPS rotations and burst windows.
爆発カワイイ
爆発カワイイ is the AoE room-clear starter that excels at wiping Act 1 swarms with self-damage bursts. Her blast アルティメット clears most encounter rooms in a single cast, and her weapon affinity for explosive projectile parts multiplies 火works Master build potential. However, her self-damage mechanic requires deliberate spacing — stand too close to your own burst and you'll lose half your HP. Recommended for players who enjoy aggressive, screen-clearing play and don't mind the higher skill ceiling. She excels in solo runs where AoE clear speed matters more than burst-window damage, and her co-op role is support DPS that clears adds while the team's tank holds the front.
成金秀才
成金秀才 is the economy-scaling starter that converts gold pickups into damage and shop discounts. Where other starters plateau on raw stats, 成金秀才 scales infinitely with gold accumulation, making him the strongest solo clear pick for new players who are willing to learn his gold-management loop. His ゴールドラッシュ アルティメット doubles gold drop rate for 30 seconds, which compounds with his passive gold-to-damage タレント to create runaway scaling. Best for solo runs and shop-heavy builds; less impactful in 4-player co-op where gold drops are split across the squad. He rewards patient playstyles that prioritize economy over burst damage.
片目コジ
片目コジ is the precision crit starter that focuses on single-shot burst damage for boss melt windows. His スナイプ アルティメット adds 200% next-shot crit chance to the killing bullet, which pairs with Leaf Cutter's single-shot chassis to enable one-bullet boss clears. He is the recommended first-clear pick for experienced roguelite players who can position for precision hits. His weapon affinity for crit builds means he underperforms on AoE-focused chassis like Skorpian, so pair him with Leaf Cutter rather than Skorpian. The wiki tracks the recommended タレント path for the fastest first-clear using 片目コジ.
謎の修道女
謎の修道女 is the support starter that keeps the squad alive through clutch saves and debuff auras. Her リザレクション アルティメット is uniquely strong in co-op, where it can save a wiped squad during the most punishing boss enrage timers. She underperforms in raw DPS without specific build investments, so she reads as weak in the early タレント slots. Best played by experienced players who understand support role positioning and can coordinate with DPS teammates. The wiki tracks the recommended タレント path for the 謎の修道女's strongest late-game scaling.
Core Mechanics
The core combat loop is a bullet-hell shooter: dodge enemy patterns, fire back, and pick up every Weapon Part and Relic dropped by dead enemies. After every boss, you draft three Tarot Cards and pick one to permanently reshape your build. Each in-run Weapon Part has no hunter restriction, so any Demon Hunter can wield any weapon — build identity comes from how you slot parts and chain keywords, not from class choice. Outside the run, your performance feeds Character Talents (per-hunter unlocks) and Team Talents (squad-wide unlocks) at the camp, and your Relics persist as run-independent meta-progression.
Advantages
The 12-hour escape timer is the single biggest advantage of starting fresh — every run is short enough to plan in full, every Transmutation chain can be tested across two or three attempts before the timer forces a clean reset. Compared to sprawling roguelites that demand 30+ minute runs, Pass the Fear rewards tight decision-making and quick iteration. New players should accept that the first two attempts will end at the 12-hour mark regardless of strategy; the system is designed to punish greed, and the wiki tracks the most consistent clearing strategies to compress that learning curve.
Challenges
Pass the Fear's main weakness for new players is the steep difficulty curve in Act 3 — early-game strategy that works in Acts 1-2 falls apart when the Storm Wall guardian phases begin, so off-meta builds tend to drag runs to the 12-hour timer. The Demo save transfer feature was not carried forward to launch, so starting from scratch is mandatory even if you played the demo. Some launch-week multiplayer sessions also report cross-region lag, especially between Asia and North America player pools — single-player is the most reliable experience in week one.
Frequently Asked Questions
新規プレイヤーの1ランはどのくらいですか?+
Which 魔狩り should I pick for my first run?+
最初のランで何を優先すべきですか?+
Quick Tips
Always pick the 鉄桶騎士 for your first run, even if you plan to switch later. His shield-tank durability forgives the early-game positioning mistakes that new players inevitably make, and his 鉄壁 アルティメット grants a 5-second team-wide shield that can save you during the most punishing boss enrage timers. The wiki tracks the recommended first-hunter progression for the fastest meta-progression route. Switching to 爆発カワイイ or 成金秀才 on the second or third run is the recommended progression for players who have mastered the 鉄桶騎士's shield mechanics. Each hunter has unique タレント trees that compound your build options as you progress through the meta-progression pool.
Don't try to build-craft on your first run — follow the [Growth] + [Shatter] combo with Skorpian or Leaf Cutter. The combo is the most reliable DPS build for new players because it scales infinitely with kill count, forgives early-game positioning mistakes, and clears Act 2 reliably. Off-meta curiosities (タロット-only builds, full-support Nun, money-scaling Whiz) can still finish runs given enough タレント resets, but the meta is rapidly consolidating toward [Growth] + [Shatter] by launch-week Day 3. The wiki indexes the proven meta builds so new players can skip the failed-experiment phase.
Watch all cutscenes in your first run, even the optional ones. Roughly 12 of the 56 achievements are missable and tied to specific narrative reveals that lock out if you skip the cutscenes. The 原罪 achievement, in particular, is hidden behind watching all 魔女の災厄 cutscenes in Act 2. The wiki indexes each missable achievement with the specific cutscene trigger, so check the achievements category before starting a completion-focused run. Skipping cutscenes may seem like a time-saver, but the achievement-locking makes it a net loss for completionists.
Featured

Pass the Fear 12時間タイマー攻略ガイド:脱出計画ストラテジー
最適なアクトのペース配分、嵐の壁(Wall of Storms)への準備、キャンプのタイミング、および嵐の壁エンカウントの生存のコツを網羅した、Pass the Fearの12時間タイマー攻略ガイド。

Pass the Fear 第1章攻略:最初の3つのゾーンガイド
Forest Ruins、Iron Bridge、Stormbreakの各ゾーン、敵のタイプ、ルートテーブル、ボス戦略を網羅したPass the Fear第1章のウォークスルー。

Pass the Fear 初心者ガイド:リリース初日のスターターロードマップ
サイクル1のプレイヤー向けに、コアメカニクス、武器パーツ、錬成キーワード、おすすめの初期デビルハンターを解説するPass the Fear初心者ガイド。
All Articles

Pass the Fear協力プレイ初心者向けガイド:4人オンライン分隊
4人オンライン分隊の役割、DPSランキングの基本、チームタレント、クラッチセーブ戦術を網羅したPass the Fear協力プレイ初心者向けガイド。
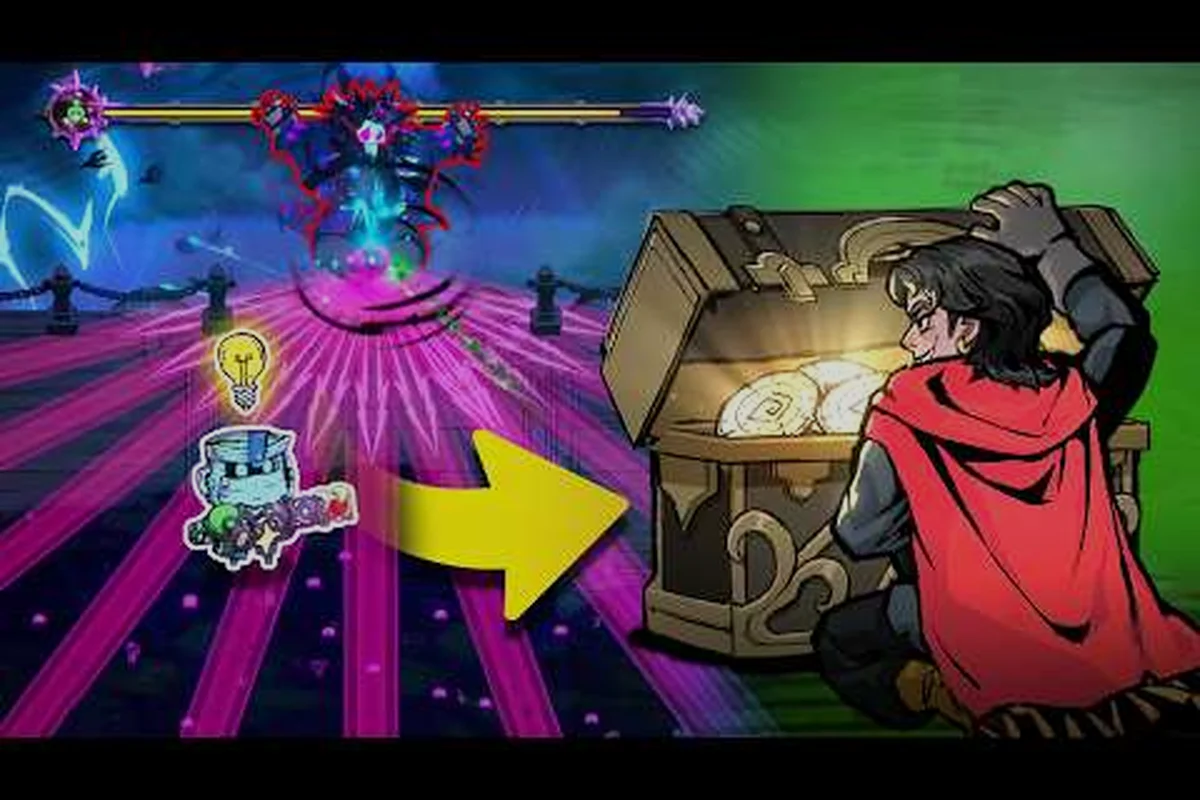
Pass the Fear 移動と隠れ場所ガイド:回避無敵フレームの極意
ダッシュの無敵フレーム、回避クールダウン、隠れ場所、弾幕戦におけるポジショニングの基本を解説する、Pass the Fearの移動と隠れ場所に関するガイドです。
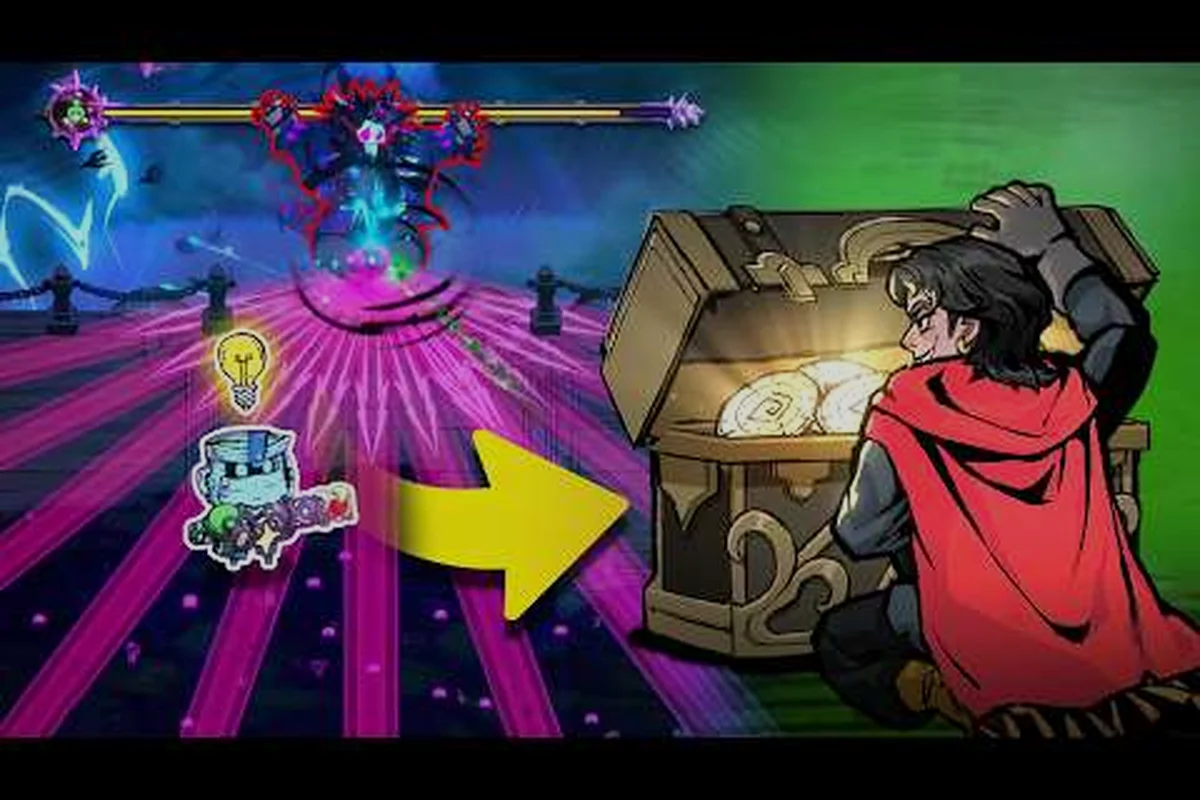
Pass the Fear スタミナ・ステータスガイド:ステータス優先順位リスト
Pass the Fearのスタミナとステータスのガイド。主要ステータス、ブレイクポイント、属性の重み付け、デーモンハンターの役割別ステータス優先順位を解説します。
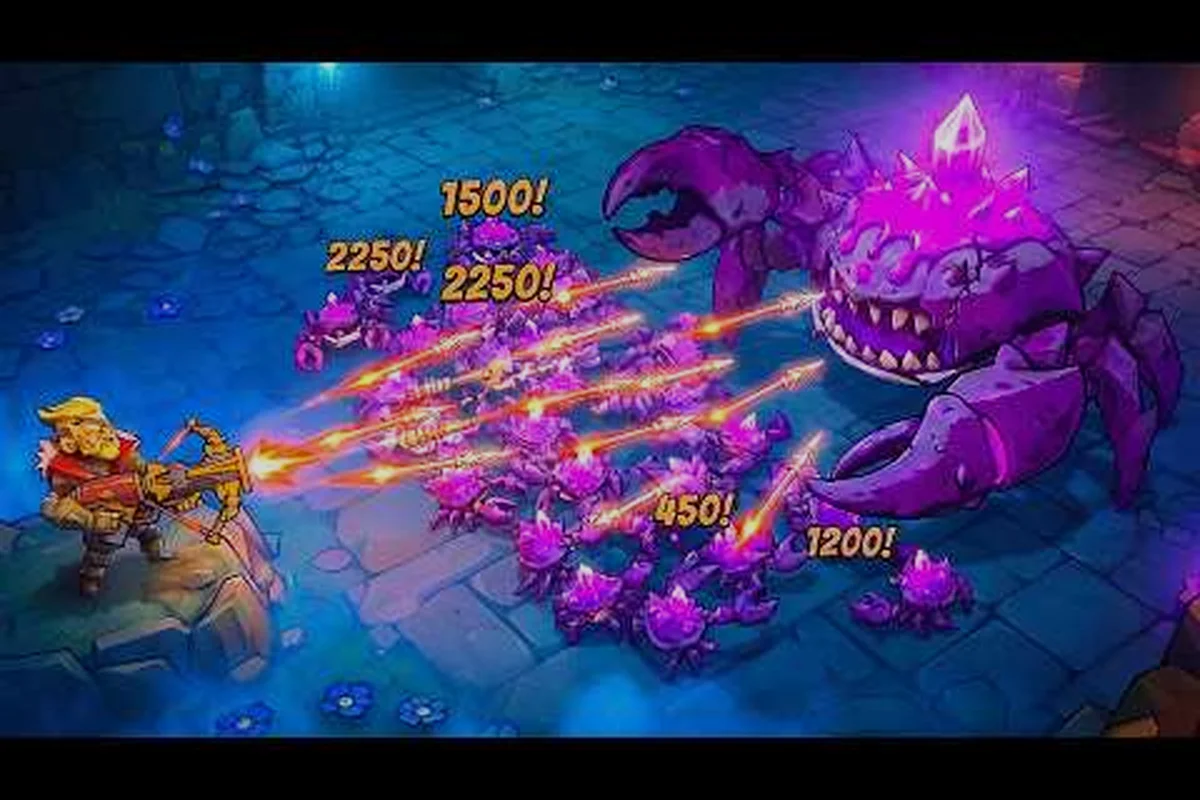
Pass the Fear タロットカードドラフトガイド:ピック優先度リスト
ピック確率、レアリティの確率、リロールの計算、ビルドアーキタイプ別のレジェンダリーピック優先度を網羅した、Pass the Fearのタロットカードドラフトガイド。
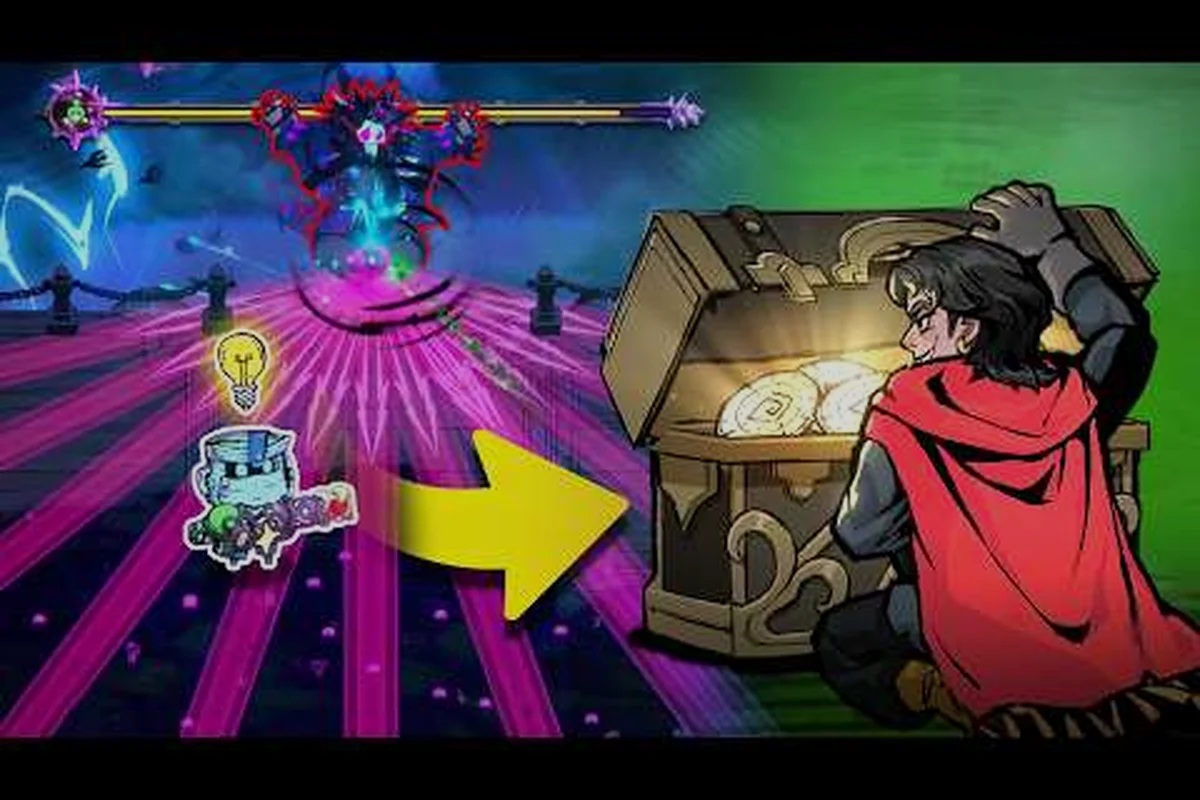
Pass the Fear 錬成チェイン初心者ガイド:キーワード解説
5つのトリガーキーワード、スタックウィンドウ、共鳴バーストのタイミング、ローテーション例を網羅した Pass the Fear 錬成チェイン初心者ガイド。
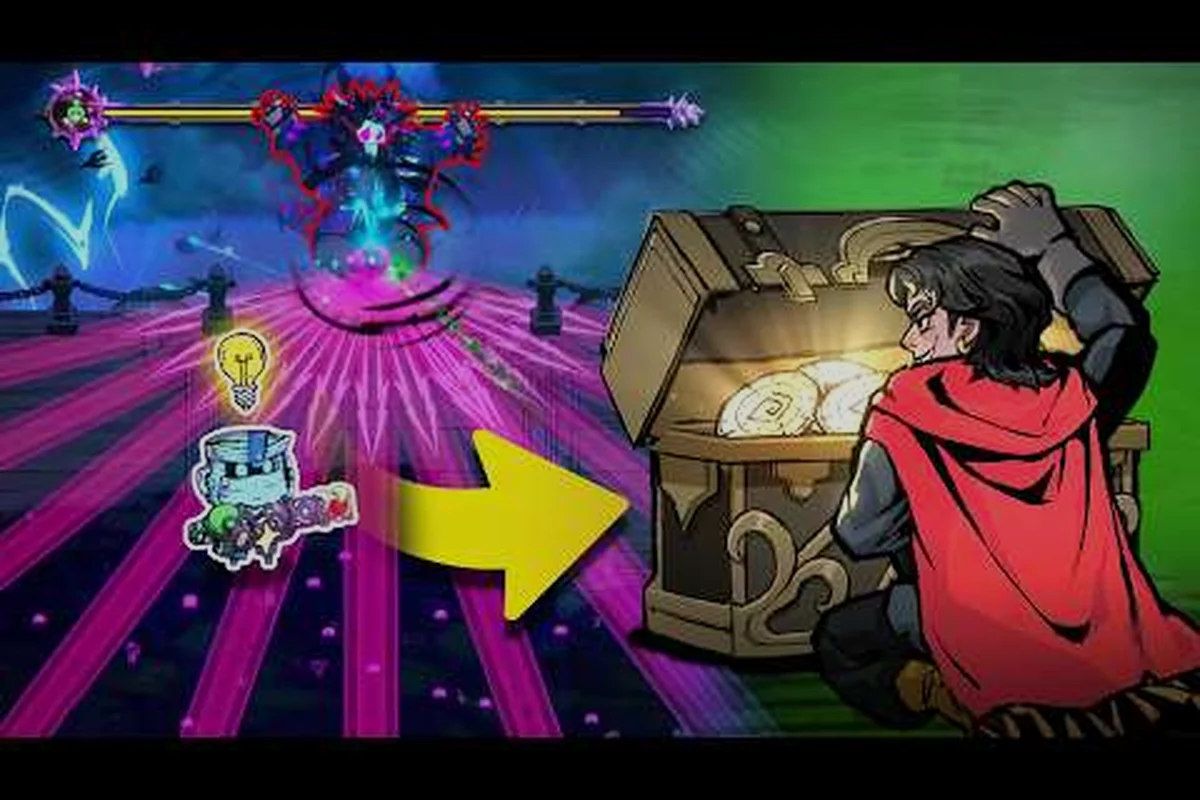
Pass the Fear「嵐の壁」脱出ガイド:最終決戦
嵐の壁のフェーズ、生存ビルド、おすすめのデーモンハンター、クリア後のアンロック要素を網羅した、Pass the Fearの「嵐の壁」脱出ガイド。
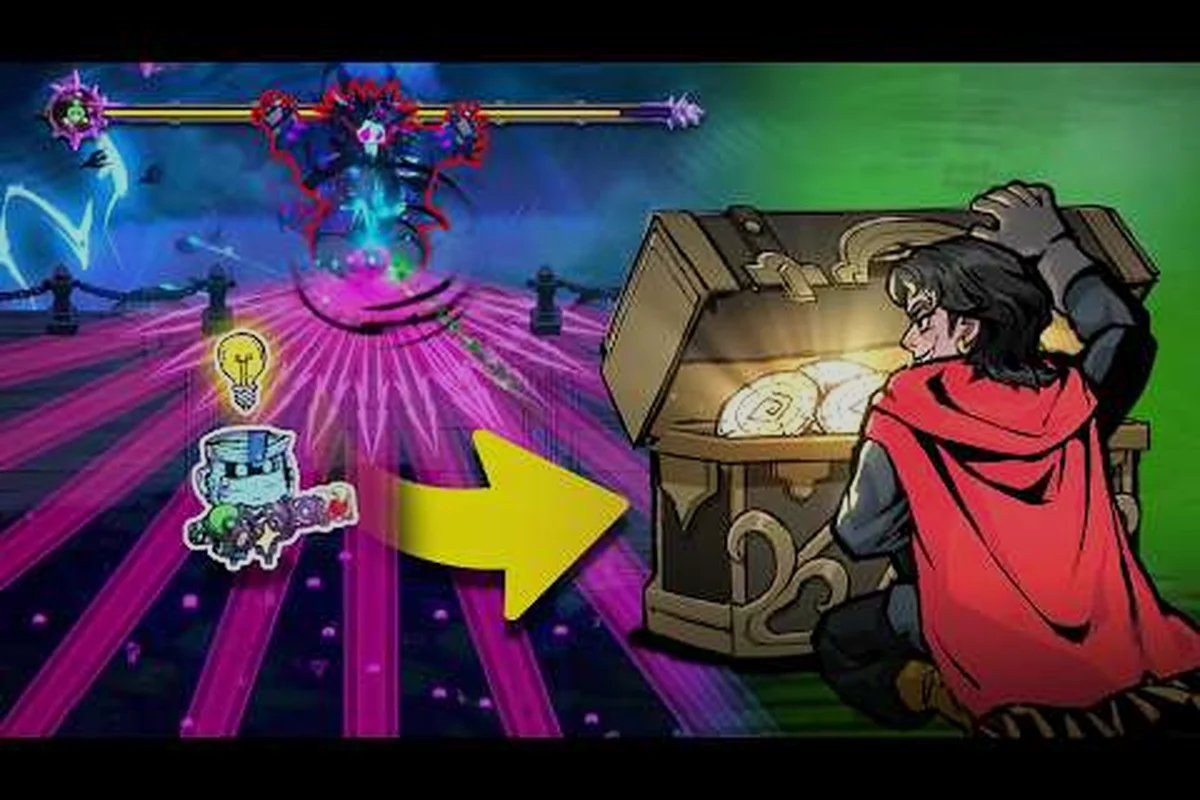
Pass the Fear 武器パーツ初心者ガイド:モッドのロードアウト
マガジン、マズル、ストック、スペシャルモッドのスロットと、各シャーシ向けの初期ロードアウトを解説する、Pass the Fearの武器パーツ初心者ガイド。